Troubleshooting Common Challenges in ID Roller Burnishing
Roller burnishing, while a powerful technique for enhancing part durability and surface finish, can present certain challenges if not executed with precision. Understanding and addressing these common issues is crucial for achieving optimal results and avoiding costly rework. This article delves into the troubleshooting of frequent problems encountered during internal diameter (ID) multi-roller burnishing, providing practical solutions to ensure a smooth and effective process.

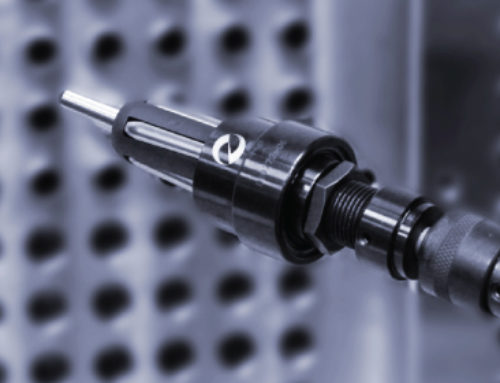
One of the most common issues is the appearance of a “bell mouth” on the entry or exit of the bore. This undesirable flare is typically caused by a tool runout or misalignment between the tool and the workpiece. When the tool is not perfectly centered or aligned, the rolls exert uneven pressure, leading to a widening of the bore at the beginning and end of the stroke. To rectify this, it is essential to zero the tool, minimizing runout, and carefully align the tool with the part. This ensure that the rolls engage the workpiece uniformly, preventing the formation of a bell mouth.
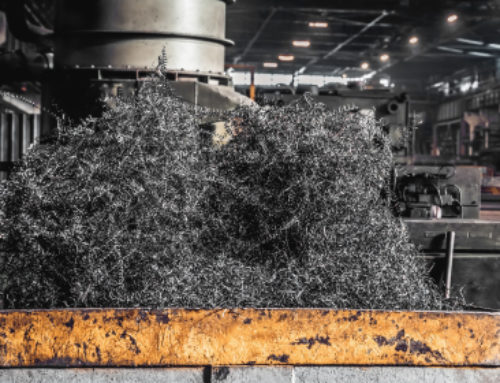
Another frequent problem is the occurrence of taper within the bore. This can arise from several factors, including a pre-existing taper in the bore before the burnishing, an incorrect feed rate, or attempting to remove excessive stock from the pre-burnished finish. A feed rate that is too slow can cause the rolls to “walk down” the mandrel’s taper, resulting in a loss of size and the creation of a tapered bore. To address this, it is crucial to inspect the pre-burnished bore for any existing taper and adjust the feed rate to the recommended values. Additionally, attempting to remove too much material in a single pass can exacerbate the issue. Gradual, controlled stock removal is essential for maintaining bore uniformity.
A cloudy or hazy finish on the burnished surface is another common concern. This often indicates worn rolls, contaminated coolant, or inadequate lubrication. Worn rolls can produce an inconsistent surface finish, while dirty coolant can introduce abrasive particles that can scratch the workplace. Similarly, insufficient lubrication or coolant concentration that is too low can lead to excessive friction and heat, resulting in a cloudy finish. To remedy this, it is essential to regularly inspect and replace worn rolls, ensure that the coolant is clean and free of contaminants, and maintain the recommended coolant concentration (typically 6-8% or higher).
Size variations throughout the bore can also pose a significant challenge. This issue is often attributed to an incorrect feed rate or improper tool retraction. A feed rate that is too slow can cause the rolls to lose size as they traverse the bore, leading to size discrepancies. Additionally, removing the tool from the bore without using a rapid feed can result in intermediate burnishing, causing further size variations. To address this, ensure that the feed rate adheres to the recommended values and increase the retraction speed to minimize dwell time within the bore.
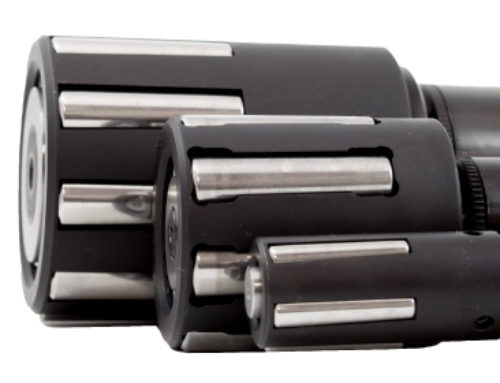
Spiral lines or nicks on the burnished surface are indicative of more serious problems, such as excessive tool runout, material buildup on the rolls or within the cage, or a locked-up tool. Excessive tool runout can cause the cage to drag during retraction, resulting in spiral lines. Material stuck to a roll or lodged within the cage’s cavity can create nicks and scratches on the workpiece. If the cage stops rotating or the tool locks up, it can cause severe damage to both the tool and the part. To rectify these issues, it is essential to correct the tool runout, inspect the cage and rolls for any material buildup, damage, or wear, and thoroughly clean the tool. Inspect for worn, damaged, or bent components.
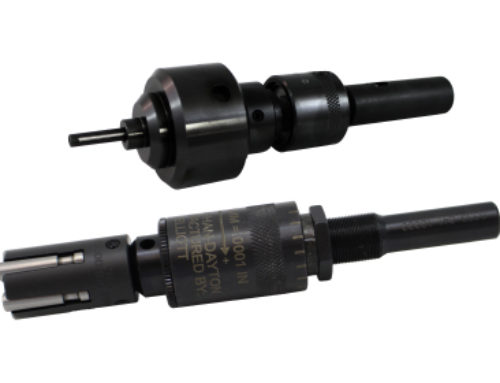
Finally, nicks on the part’s face can occur when the tool is rotating and the rolls flare out to their maximum size. Also, when the tool is mounted horizontally in a lathe or horizontal mill, gravity will do it’s part causing the rolls will sag at the bottom. To prevent this, increase the lead chamfer or consider using a tight-lipped cage. This will help to control the roll expansion and prevent damage to the part’s face.
By understanding these common roller burnishing challenges and implementing the appropriate corrective actions, manufacturers can ensure a smooth, efficient, and high-quality burnishing process, resulting in parts with enhanced durability and superior surface finishes.